Alerts Forwarding
Falco alerts can easily be forwarded to third-party systems. Their JSON format allows them to be easily consumed for storage, analysis and reaction.
Falcosidekick
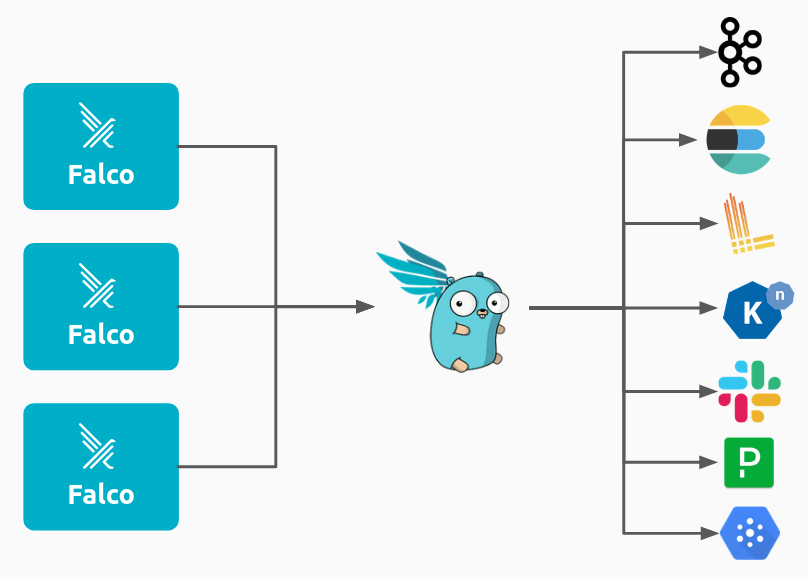
Falcosidekick is a proxy forwarder that acts as a central point for any fleet of Falco instances, using their HTTP outputs to send alerts.
It supports forwarding alerts to various outputs such as chat platforms, alerting systems, logs, storage services, and streaming systems.

Falcosidekick can also add custom fields to the alerts, filter them by priority and expose a Prometheus metrics endpoint.
The full documentation and the project repository are here.
Falcosidekick can be deployed with Falco in Kubernetes clusters with the official Falco Helm chart.
Its configuration can be made through a yaml file and/or env vars.
Outputs
The available outputs in Falcosidekick are:
Chat
Metrics / Observability
- Datadog
- Influxdb
- StatsD (for monitoring of
falcosidekick) - DogStatsD (for monitoring of
falcosidekick) - Prometheus (for both events and monitoring of
falcosidekick) - Wavefront
- Spyderbat
- TimescaleDB
- Dynatrace
- OTEL Metrics (for both events and monitoring of
falcosidekick)
Alerting
Logs
Object Storage
FaaS / Serverless
Message queue / Streaming
- NATS
- STAN (NATS Streaming)
- AWS SQS
- AWS SNS
- AWS Kinesis
- GCP PubSub
- Apache Kafka
- Kafka Rest Proxy
- RabbitMQ
- Azure Event Hubs
- Yandex Data Streams
- MQTT
- Gotify
Database
Web
SIEM
Workflow
Traces
Response engine
Other
Installation in Kubernetes with Helm
See the available Helm values to configure Falcosidekick.
helm install falco falcosecurity/falco \
-n falco --create-namespace \
--set falcosidekick.enabled=true \
--set tty=true
Installation in Docker
Use the env vars to configure Falcosidekick.
docker run -d -p 2801:2801 -e SLACK_WEBHOOKURL=XXXX falcosecurity/falcosidekick:2.27.0
Installation on the host
Adapt the version and the architecture to your environment. You can find all the releases here.
sudo mkdir -p /etc/falcosidekick
wget https://github.com/falcosecurity/falcosidekick/releases/download/2.27.0/falcosidekick_2.27.0_linux_amd64.tar.gz && sudo tar -C /usr/local/bin/ -xzf falcosidekick_2.27.0_linux_amd64.tar.gz
See the example config file to create your own in /etc/falcosidekick/config.yaml.
To enable and start the service, you can use a systemd unit /etc/systemd/system/falcosidekick.service like this one:
[Unit]
Description=Falcosidekick
After=network.target
StartLimitIntervalSec=0

[Service]
Type=simple
Restart=always
RestartSec=1
ExecStart=/usr/local/bin/falcosidekick -c /etc/falcosidekick/config.yaml
EOF
systemctl enable falcosidekick
systemctl start falcosidekick
Falcosidekick UI
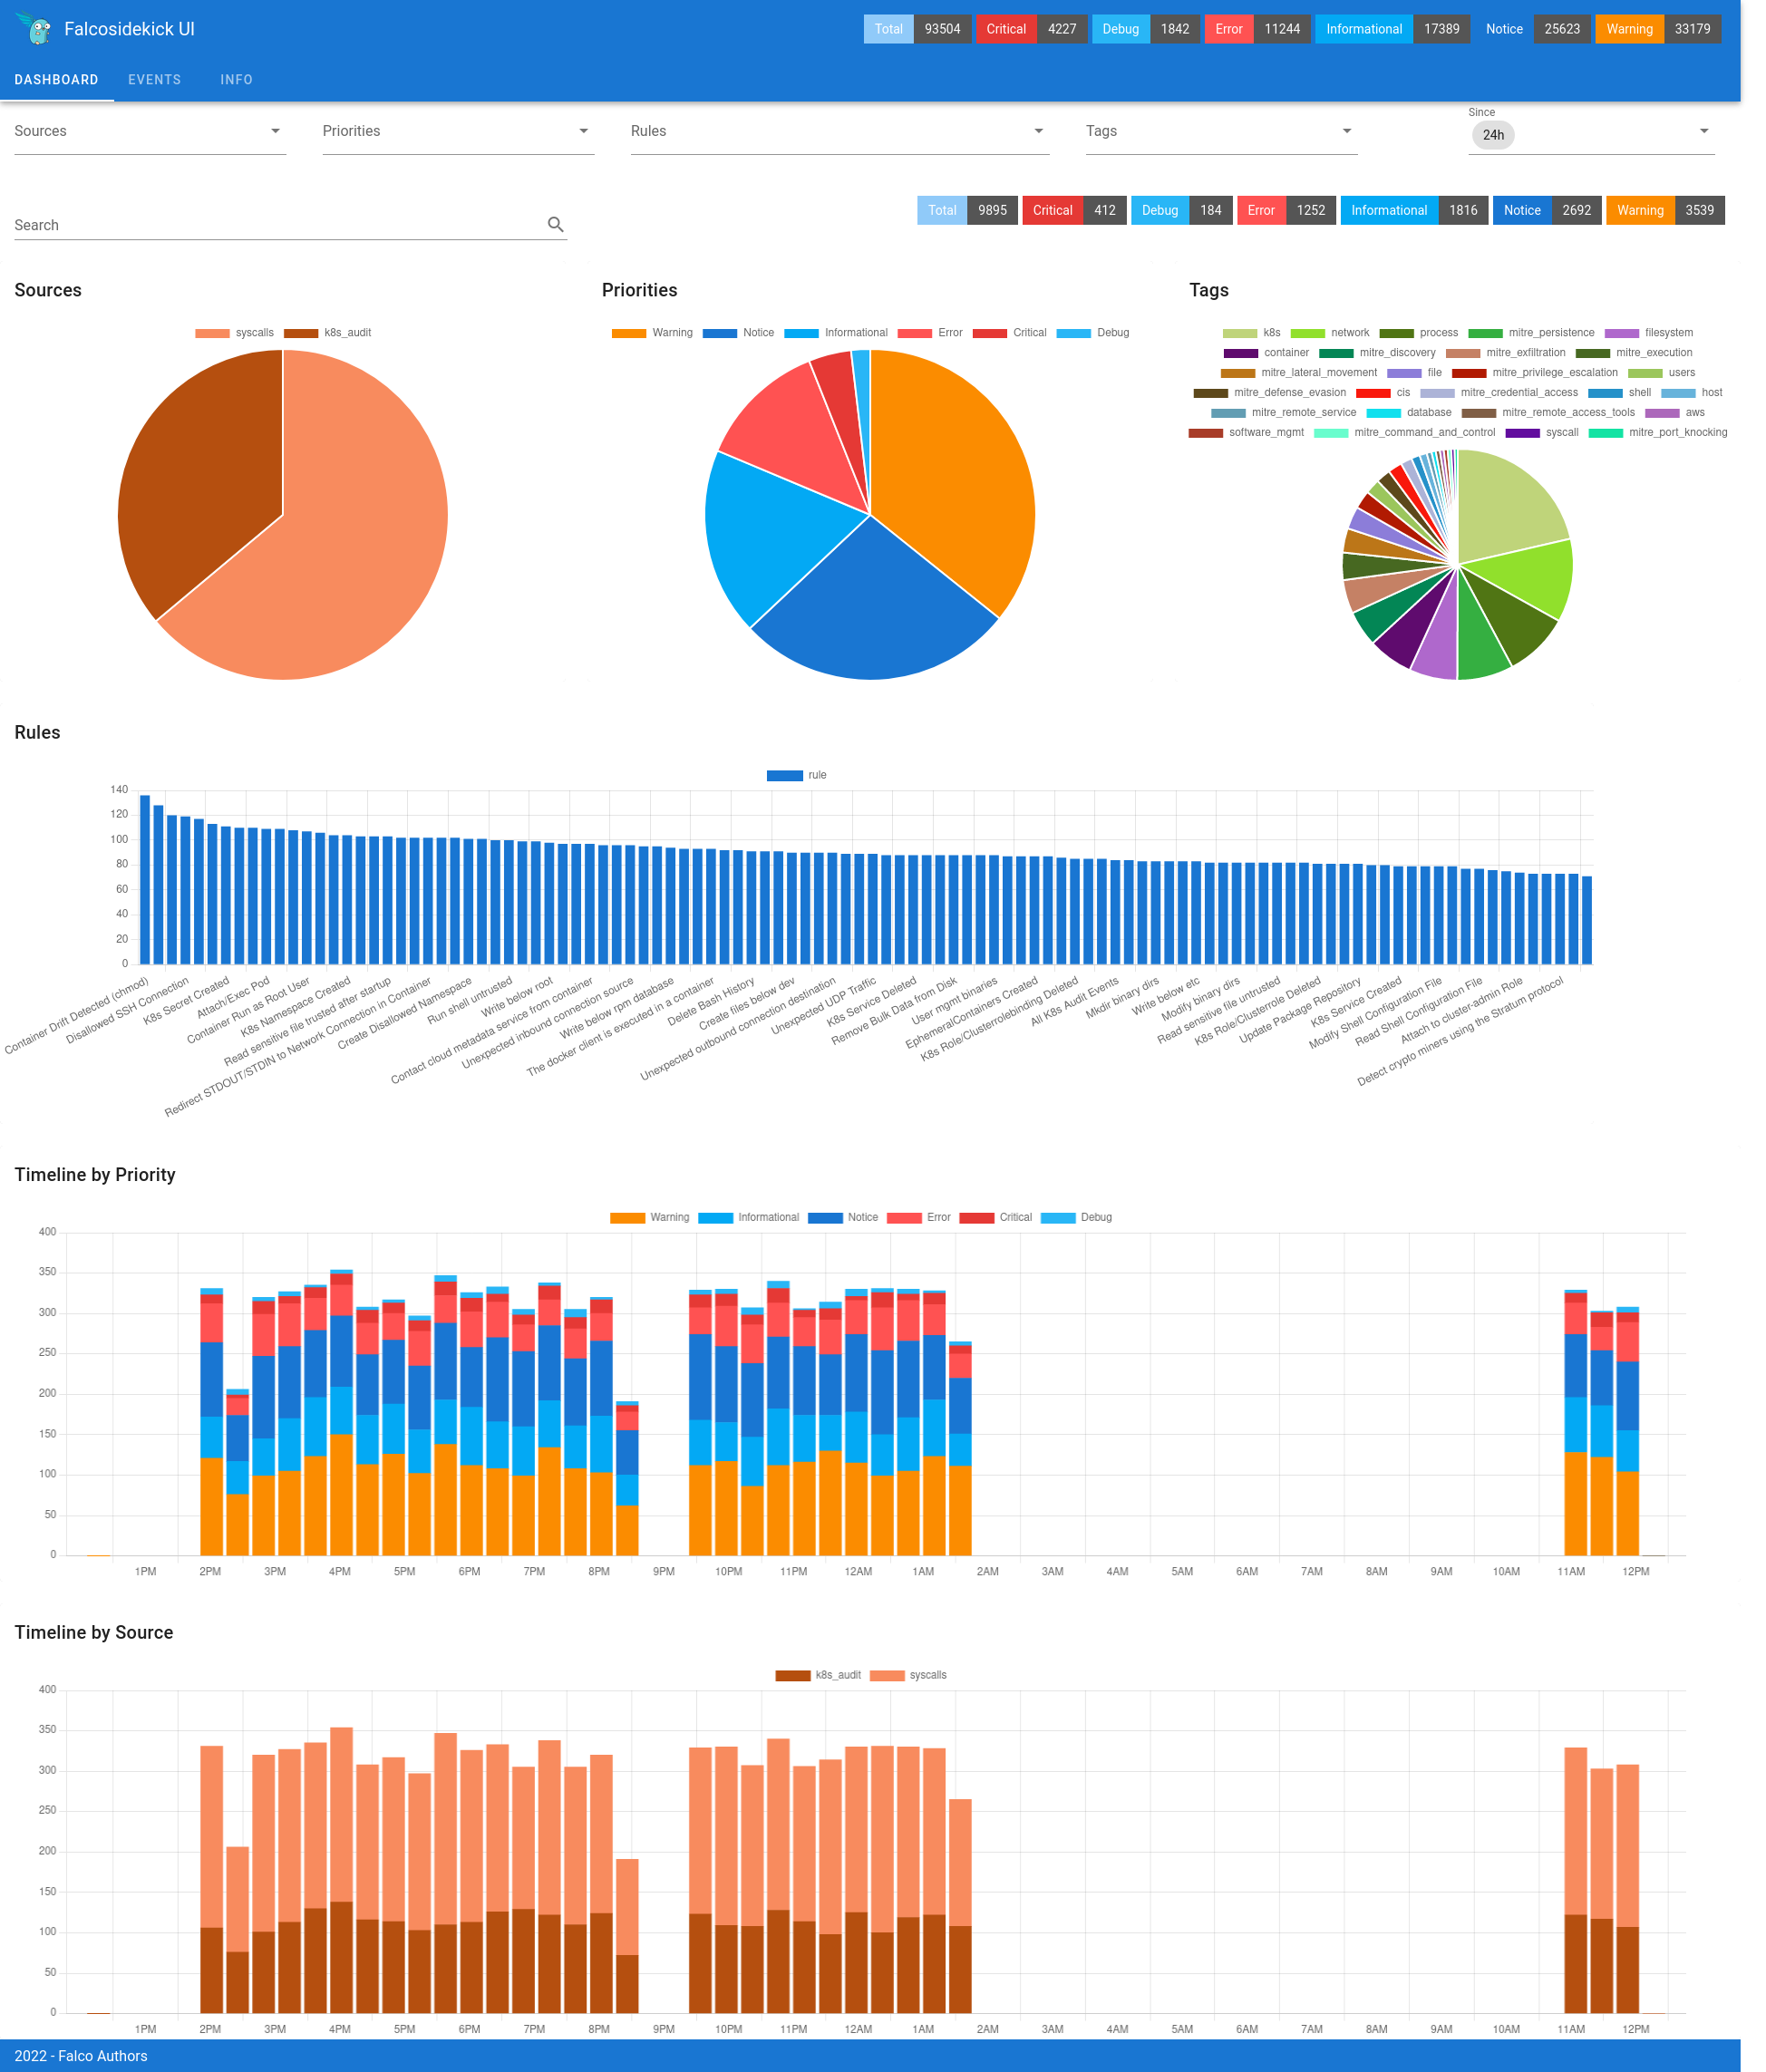
Falcosidekick comes with its own interface to visualize the events and get statistics.

Installation in Kubernetes with Helm
You can install the UI at the same moment as Falcosidekick by adding the argument --set falcosidekick.webui.enabled=true.
helm install falco falcosecurity/falco \
-n falco --create-namespace \
--set falcosidekick.enabled=true \
--set falcosidekick.webui.enabled=true \
--set tty=true
Then create a port-forward to access it: kubectl port-forward svc falco-falcosidekick-ui 2802:2802 -n falco. The default credentials are admin/admin.
The full documentation and the repository of the project are here.
Was this page helpful?
Let us know! You feedback will help us to improve the content and to stay in touch with our users.
Glad to hear it! Please tell us how we can improve.
Sorry to hear that. Please tell us how we can improve.
